I have been swooning over Yarn Wall Hangings for the longest time, and I never thought I would be able to make one. I possess no sewing skills and have never played with yarn before. As I mentioned in the previous post, I so wanted to revamp my reading room and I thought a Yarn wall hanging would add character to the room. Wall hanging made of yarn and macrame are in the rage these days and it adds a bohemian vibe to your space.
I so love Boho-anything, be it jewelry or home decor, I am all up for it. So, after a little research (read lots of Youtube and Pinterest hours), I found what I was looking for.
You require only a few basic supplies. I bought yarns of my favorite colors and got going. You can always play around with your favorite colors. How about yellow to welcome this summer?
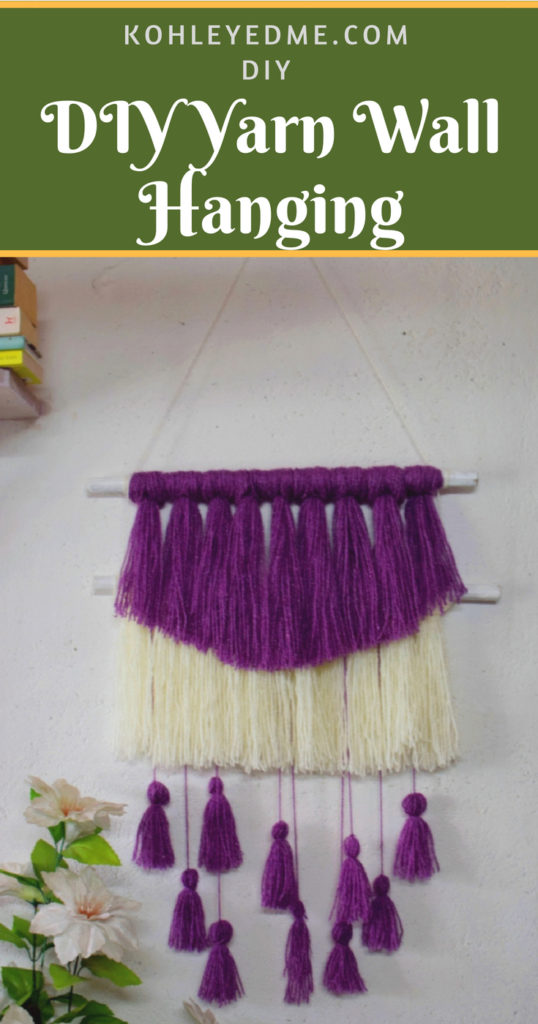
DIY Yarn Wall Hanging

Tools and Materials
2 Yarns of your favorite colors
Scissors
2 dowel rods
White paint
Instructions
Putting it together: You need two dowel rods. One can be slightly smaller than the other. Paint your dowel rods white. Let it dry for about 30 minutes. You can use acrylic paint or spray paint. I couldn’t find a dowel rod and used curtain rods. Hence the thickness! Another way is to use a tree branch. It gives a more rustic look.
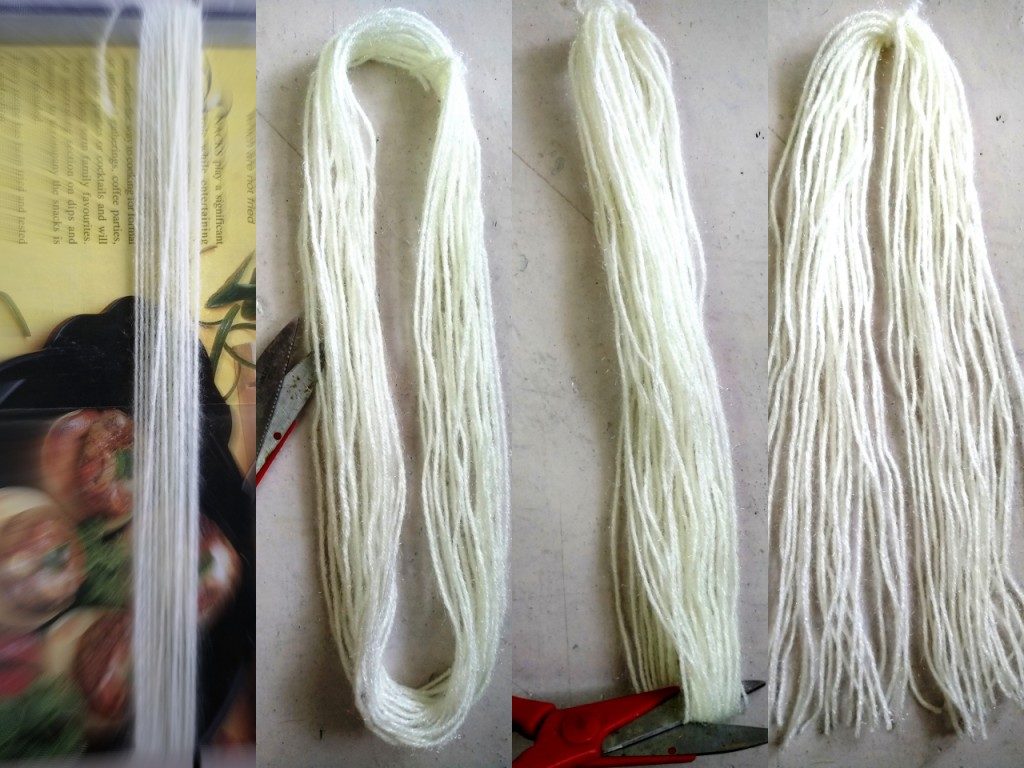
Cutting the Yarn: Wrap the white yarn 25 times around a long piece of cardboard/ruler or a ledger book. Remember, this would be the length of the longest yarn. Remove from the cardboard and cut one end. Now it looks like a tassel, almost!
Placing on the Dowel: Place the looped end atop the dowel and bring together the end of the tassel and feed them under the dowel. Pull the cut ends between the looped end and the dowel to make a knot.
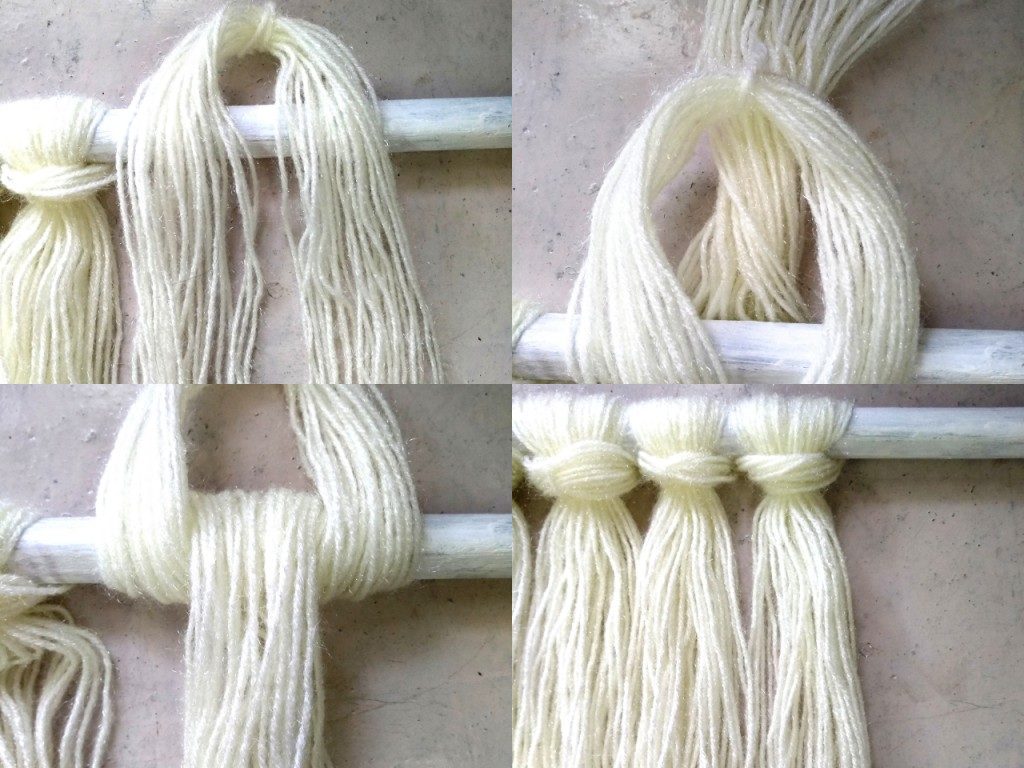
Continue making more yarn loops until you cover the dowel. This will be your lower layer of the hanging.
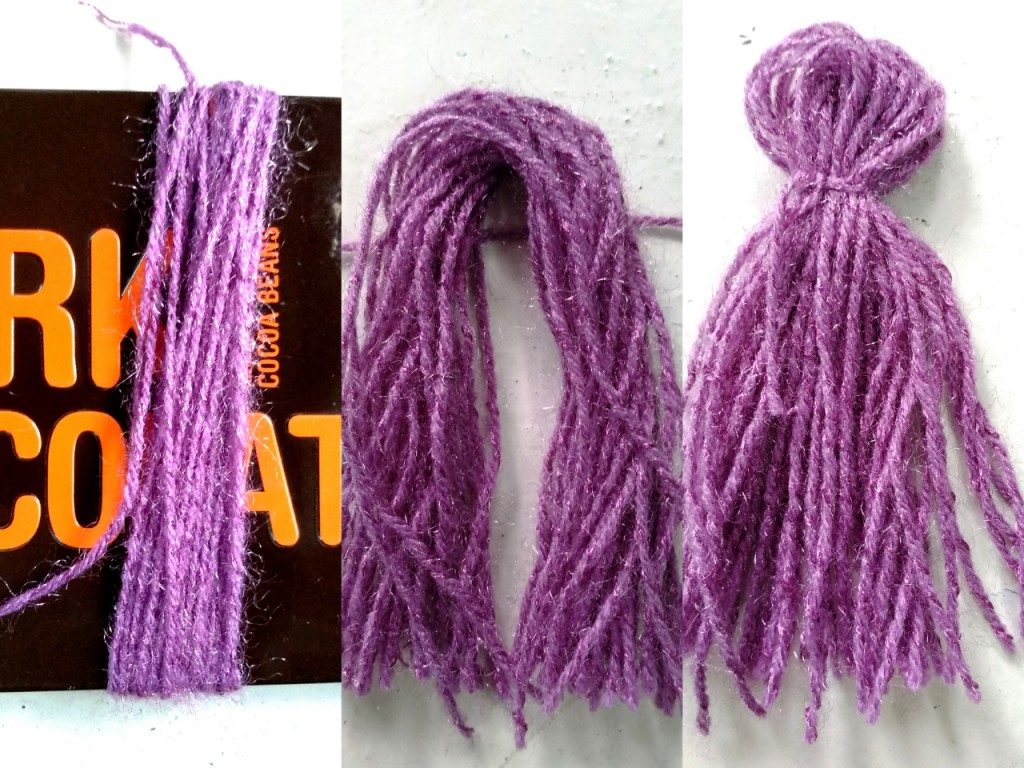
Repeat the process with the plum colored yarn on the second dowel.
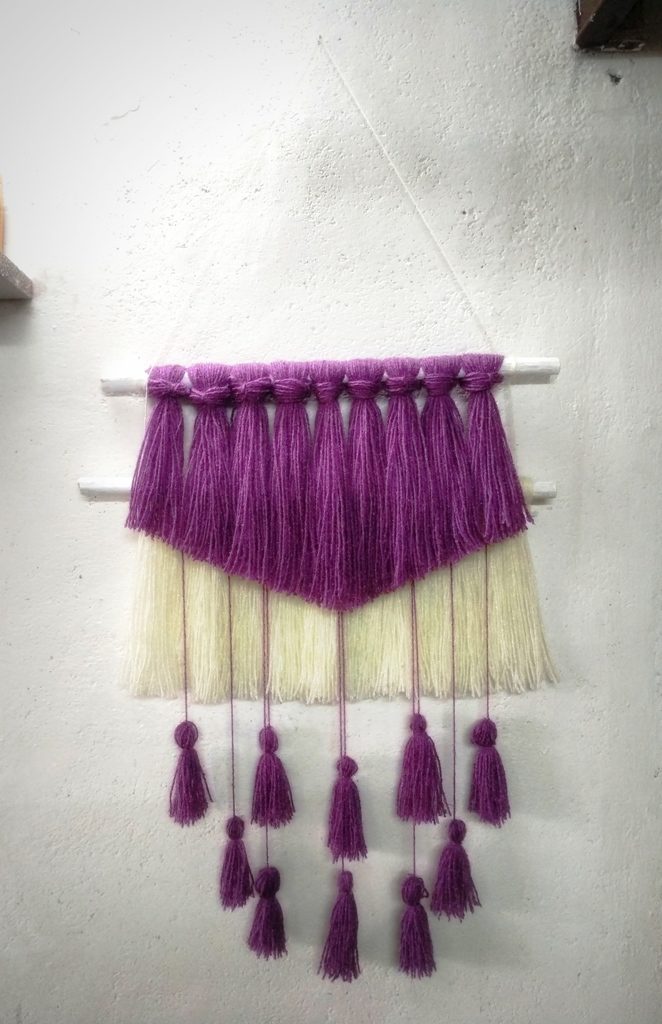
Bringing it Together: On a flat surface (or ground!), layer the plum yarn dowel atop the white yarn dowel and space them about an inch apart. Using a long piece of white yarn, work your way up by tying knots on each end of the dowel. Leave a long loose area for the hanging section and continue tying knots on the other end of the dowels, working your way down.
Beautify it: Want to beautify it some more? Let’s make some tassels. Take a smaller cardboard and wrap the yarn around it for 26 times. Remove from the cardboard and cut an end. Take a string of yarn and place across the looped end. Tie it and the tassel is done! Make ten tassels and it to the dowel aesthetically(!).
At last, hang the tied dowels on the wall and start snipping the ends to clean up any loose ends. I wanted to keep the white yarn in a straight cut and the plum colored yarn in a deep V cut. It shows the colors on the layer beneath it. So, that’s it! Your DIY Yarn Wall Hanging is ready!
You can always tweak the DIY. Use summery colors; add layers; or remove tassels. Basically, anything! 🙂
Love it? You may want to pin it for later!![]()

This post was written in response to the Idea Prompt.
Friday Reflections is a link up hosted by Corinne at Everyday Gyaan and yours truly. We invite you to join us every Friday to share a good cup of tea and your reflections based on the prompts we provide.

Here’s how #FridayReflections works:
- Write a post using one of the prompts for the week provided below.
- Use the hashtag #FridayReflections. Please follow us on Twitter @FridayReflect and join our Facebook Group.
- Add your link to the linky below.
- Use our #FridayReflections badge to encourage other bloggers to join in too.
- Visit and comment on the posts of other bloggers linked here.
Prompts for 18 May 2018 – choose any one:
- Show us something you made!
- “I have always imagined that paradise will be some kind of library.” — Jorge Luis Borges
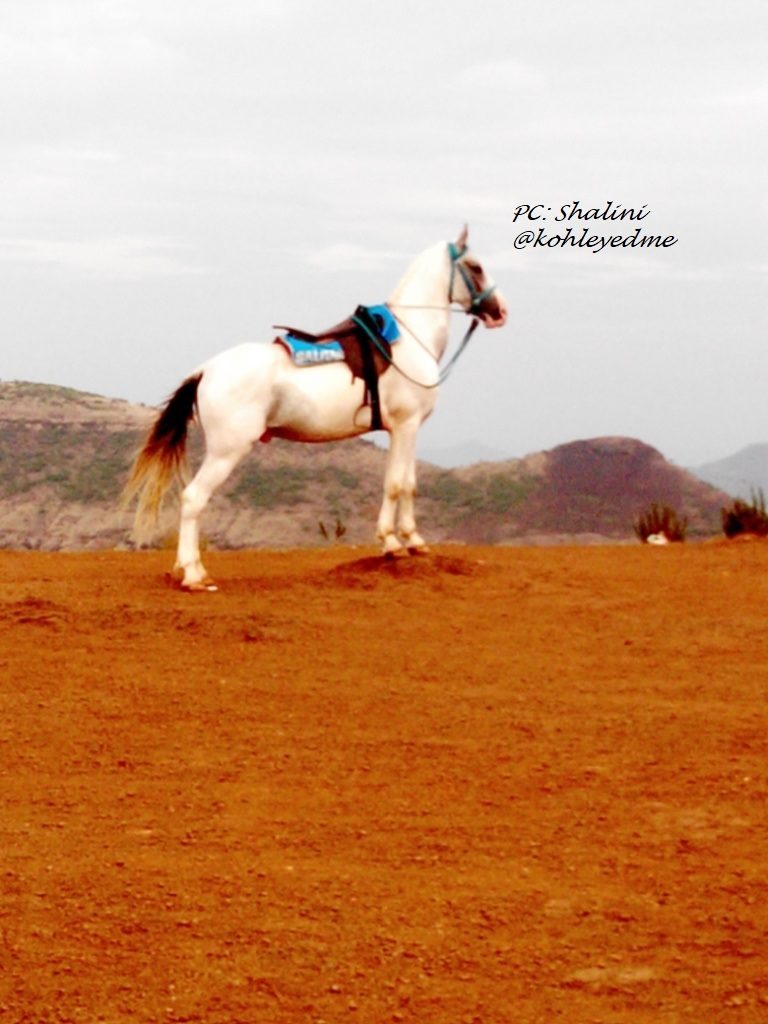
- Picture prompt (image courtesy: Shalini)

That’s so pretty. Will share this with my niece. She likes to create new interesting things and this can be her this week’s project. Thanks for sharing, Shalini!
Oh, Yay! That’s amazing! 🙂
Oh this looks so beautiful! I would love to try this with multi colored yarn.
Thank you so much for the detailed step by step instructions.
Thanks, Soumya. Please try and let me know how it turned out?
This is so easy to do. I liked this DIY. Every home has yarn of vibrant colors. Would surely try making one.
Yay! Do tag me in your picture 🙂
Wow.. that hanging looks beautiful. Your clear explanation with images is great.
Thanks, Ramya 🙂
I have pinned this for later. This would be a wonderful project to work on with a child old enough to help with the tassels.
Thank you very much 🙂
Beautiful hanging. Well done! I wish I had time to tackle a project like this, but between my writing and my card-making there is no time!
It’s been so long since I made something like this Shirley. And I felt really good. Thank you.
This is so pretty! And easy to make as well. Loved the colour combination you chose.
Thank you, Mayuri 🙂
Very pretty and not too hard to make too. Thanks for sharing.
Thank you, Suzy 🙂
It’s so pretty 😱😱❤❤
Beautifully done 😀
Thanks, Raj 🙂